
Planning is where WordPress projects are won or lost
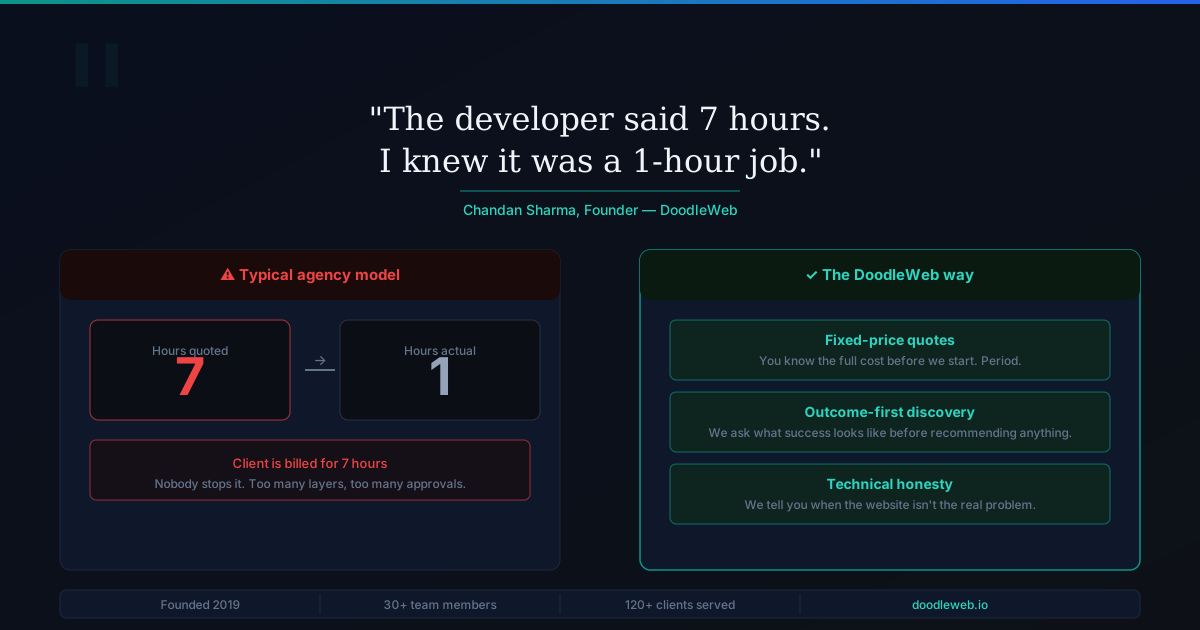
Most WordPress redesigns that go sideways don't fail in development. They fail in the four weeks before development, when nobody wrote down what the site is for, which pages actually earn revenue, or who signs off on copy. The build then absorbs those unanswered questions as change requests.
This is the planning sequence we run with Canadian clients before a single template gets designed.
Step 1 — Write the one-sentence job of the site
Before sitemaps or moodboards, finish this sentence: "This site exists to turn ___ into ___." A Surrey manufacturer might say "turn distributor enquiries into quoted opportunities." A college might say "turn program browsers into applicants."
Everything downstream — navigation, templates, forms, analytics — gets judged against that sentence. If a proposed page doesn't serve it, it goes to a backlog rather than the sitemap.
Step 2 — Inventory the existing site with numbers, not opinions
Export 12 months of page-level data and sort by entrances and conversions. On a typical 300-page WordPress site, 20–30 URLs carry the majority of organic entries. Those URLs are the ones that need matching templates and preserved slugs.
For each page, tag one of four decisions: keep as-is, rewrite, merge, or retire and redirect. That table becomes your content plan and your redirect map at the same time — the two artefacts most redesigns leave until the week of launch.
Step 3 — Decide the content model before the design
WordPress lets you build almost anything with pages and blocks, which is exactly why teams end up with 40 one-off layouts nobody can maintain. Define the repeatable objects first:
- Post types — services, case studies, team, locations, resources
- Taxonomies — industry, technology, region
- Fields per type — what the editor is *required* to fill in
If two proposed post types share the same fields, they're one post type with a taxonomy. Getting this right is what keeps editors out of the block editor's deep end later.
Step 4 — Build the sitemap and template list separately
Sitemaps describe URLs; template lists describe how many things you actually have to design and build. A 120-page site is often only nine templates: home, service index, service detail, case study index, case study detail, blog index, post, contact, and a flexible landing page.
Scope, budget, and timeline should be quoted against the template list. Quoting per page is how estimates blow up mid-project.
Step 5 — Draft copy before high-fidelity design
Design against real headlines, real proof points, and real form fields. Placeholder text hides the two most expensive problems: sections that have nothing to say, and sections that need three times the space allotted.
A workable order: outline per template → draft copy in a doc → wireframe → design → build. Copy review is also where legal and accessibility language (bilingual requirements, AODA-aligned wording, privacy notices under PIPEDA or BC PIPA) gets settled instead of patched.
Step 6 — Plan the technical foundations up front
Decisions that are cheap now and expensive later:
- Hosting and staging — managed WordPress with a real staging environment, plus a documented deploy path
- Plugin budget — a written list with an owner and a reason for each; every plugin is a maintenance and security liability
- Performance targets — agree Core Web Vitals thresholds before templates are built, not after
- Accessibility level — WCAG 2.2 AA as the acceptance criterion, tested per template
- Analytics and events — the conversion definitions from Step 1, implemented before launch so the baseline survives the redesign
- Redirects — the map from Step 2, tested on staging
Step 7 — Agree the launch and post-launch plan
Set the launch checklist while everyone is still calm: redirect verification, form delivery testing, search-console submission, indexation check, analytics parity against the old baseline, and a rollback path.
Then book the first three post-launch reviews — week 1, week 4, week 12 — with the metrics from Step 1. Rankings and conversions usually dip briefly after a structural change; a scheduled review keeps that dip from turning into a panic rebuild.
A realistic planning timeline
For a mid-sized Canadian business site, planning runs three to five weeks: one week on goals and data, one to two on content model and sitemap, one to two on copy drafts and technical decisions. That investment typically removes more time from the build than it consumes.
Where projects still go wrong
- No named decision-maker for copy sign-off
- Redirect mapping treated as a launch-week task
- Plugins chosen during the build rather than planned
- Editors never trained on the content model they'll maintain
- Success defined as "the site is live" instead of a measurable outcome
If you want a second pair of eyes
We plan and build WordPress sites for teams in Vancouver, Surrey, and across the Lower Mainland. If you have a redesign coming and want the planning phase pressure-tested — content model, template list, redirect map, measurement plan — we're happy to review what you have and tell you plainly what's missing.
Surrey, BC
A full-service digital agency working in WordPress, Drupal, Shopify, Webflow, React, and React Native. We partner with universities, governments, and growing brands to ship sites and products that hold up after launch.